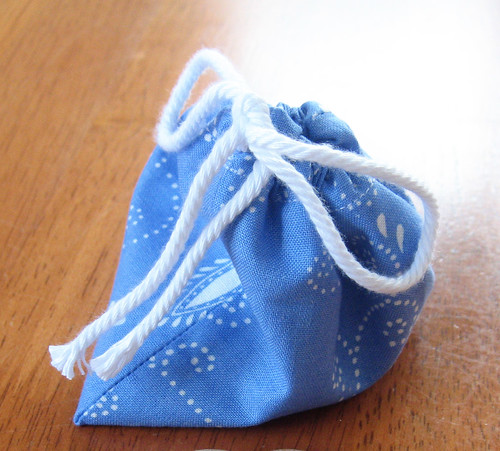
Following a fun dandee tutorial, I created little memory games that we are storing in handmade drawstring bags. Since I was making up a few more for friends, I thought I would put together a tutorial for the lined drawstring bags.
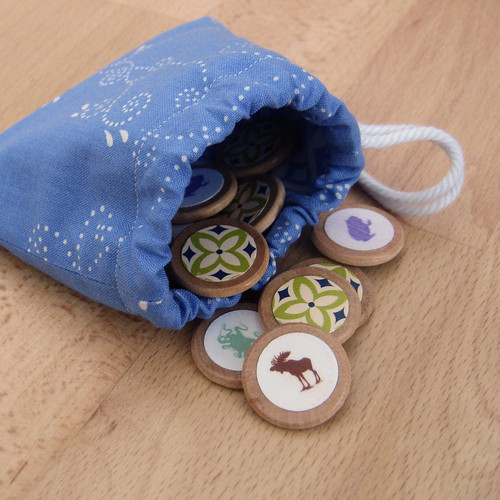
You'll need:
two coordinating fabrics
coordinating thread
a drawstring
And that's it! These really couldn't be any easier.
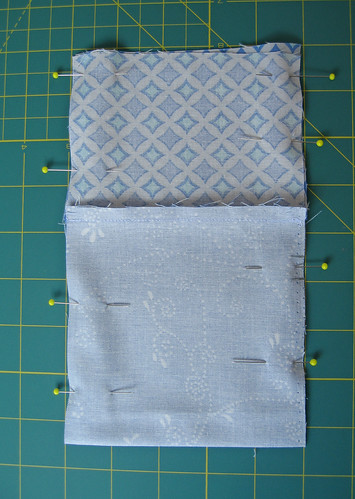
For this size bag, start with a 10" by 5" piece of your outside fabric. And, two 4" by 5" pieces of your lining fabric. Pin the right sides together like so:

Stitch a 1/4" seam allowance along the ends of your outside fabric. Then flip the lining fabric out and press the seams toward the lining. Once you turn that over, you'll have this:

Then, fold the whole piece in half, squaring the ends of the lining fabric (as best you can given your novice cutting skills) and pin together. Mark a 1/2" spot, 3 1/2" up from the fold of your outside fabric. Don't sew this spot, it will be the opening to your drawstring casing. You'll want to backstitch on either end of the gap.
Stitch the sides, skipping your marked gap. When you get to the end of the lining fabric, keep your needle in and turn the corner to begin stitching the base of the lining.
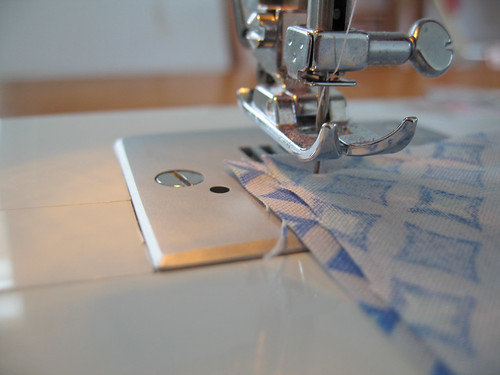
Do not stitch all the way across. Leave yourself a 1 1/2" gap, this is where you will pull the bag through to flip right side out. Again, be sure to backstitch on either end of the gap.
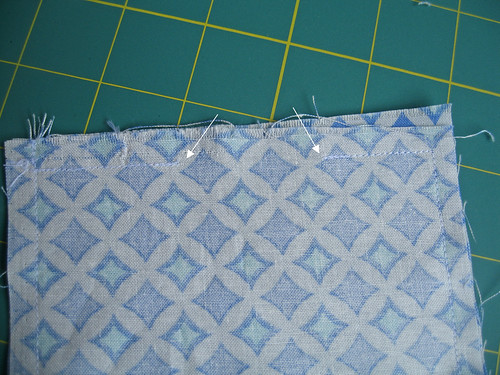
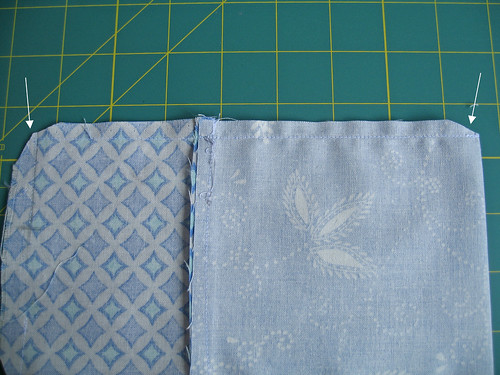
Once you have finished that, it's a good idea to clip your corners. This will help you get sharp corners when you turn the piece right side out.
Flip your piece out, through the gap you left in the lining fabric. Then, slipstitch the gap in the lining closed. You could topstitch if you'd like, but I find the hand slipstitch creates a smoother line inside your lining.
Then, push your lining down inside your bag. Remember that your lining is shorter than your outside fabric, so be sure to push the corners of the lining all the way in to the corners of the bag. You're almost done! Your bag will look like this:

And from the inside:
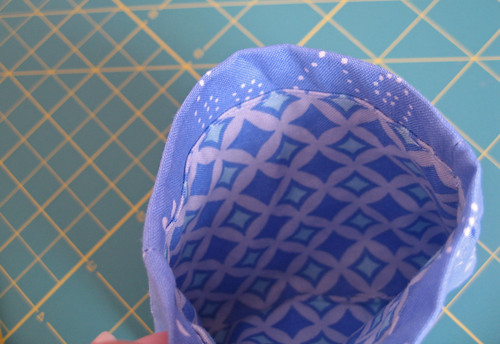
To sew a base for your casing, stitch a straight line all the way around the bag right above the spot where the lining fabric meets your outside fabric.
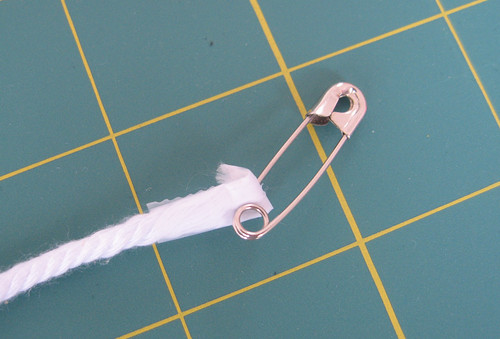
Now, it's time to put your drawstring in to your bag. If you're using cording that can easily unravel like mine, it helps to wrap a bit of tape around the end. Then, fold it over and push your safety pin through.
Thread your cording through and voila!